Google Search Console Property Types Explained: URL Prefix vs Domain Property (And How to Verify Either One)

Daniel has 25+ years SEO experience & loves everything SEO including testing, ranking & getting clients results
If you have ever set up a property in Google Search Console and been presented with two options without much explanation, you are not alone. The choice between a URL prefix property and a domain property trips up a lot of people, and picking the wrong one means you could be missing data from the moment you hit verify.
This guide breaks down what each property type actually does, which one you should choose, and the fastest ways to get verified once you have made your decision.
URL Prefix vs Domain Property: What Is the Actual Difference?
URL Prefix Property
A URL prefix property only tracks data for a specific URL pattern. So if you set up https://www.example.com, that is all you get. Traffic to http://example.com, https://example.com (without www), or any subdomain would not be included unless you set up separate properties for each.
This makes URL prefix properties quite narrow by default, but there is one upside: you have more flexibility around what you include. If you want to track just a subfolder like https://www.example.com/blog/, you can do that with a URL prefix property. It is the only option that lets you go that granular.
URL prefix properties track:
The exact protocol you enter (HTTP or HTTPS, but not both)
The exact subdomain you enter (www or non-www, but not both)
All URLs under that specific root
URL prefix properties do not track:
The HTTP version if you entered HTTPS (or vice versa)
Other subdomains
Naked domain traffic if you registered www (or vice versa)
Domain Property
A domain property is the more complete picture. When you set one up, Google consolidates data from HTTP and HTTPS, www and non-www, and all subdomains, including things like blog.example.com or shop.example.com, under a single property.
From a reporting standpoint, this is almost always what you want. You get one clean view of your entire site's search performance rather than having to stitch together data across multiple properties.
Domain properties track:
All subdomains (www, non-www, blog, shop, etc.)
Both HTTP and HTTPS
Everything consolidated into a single property
The main trade-off is that domain properties can only be verified one way: via DNS. There is no HTML tag option, no Google Analytics fallback, no uploading a file. We will get into why that actually matters less than it sounds in a moment.
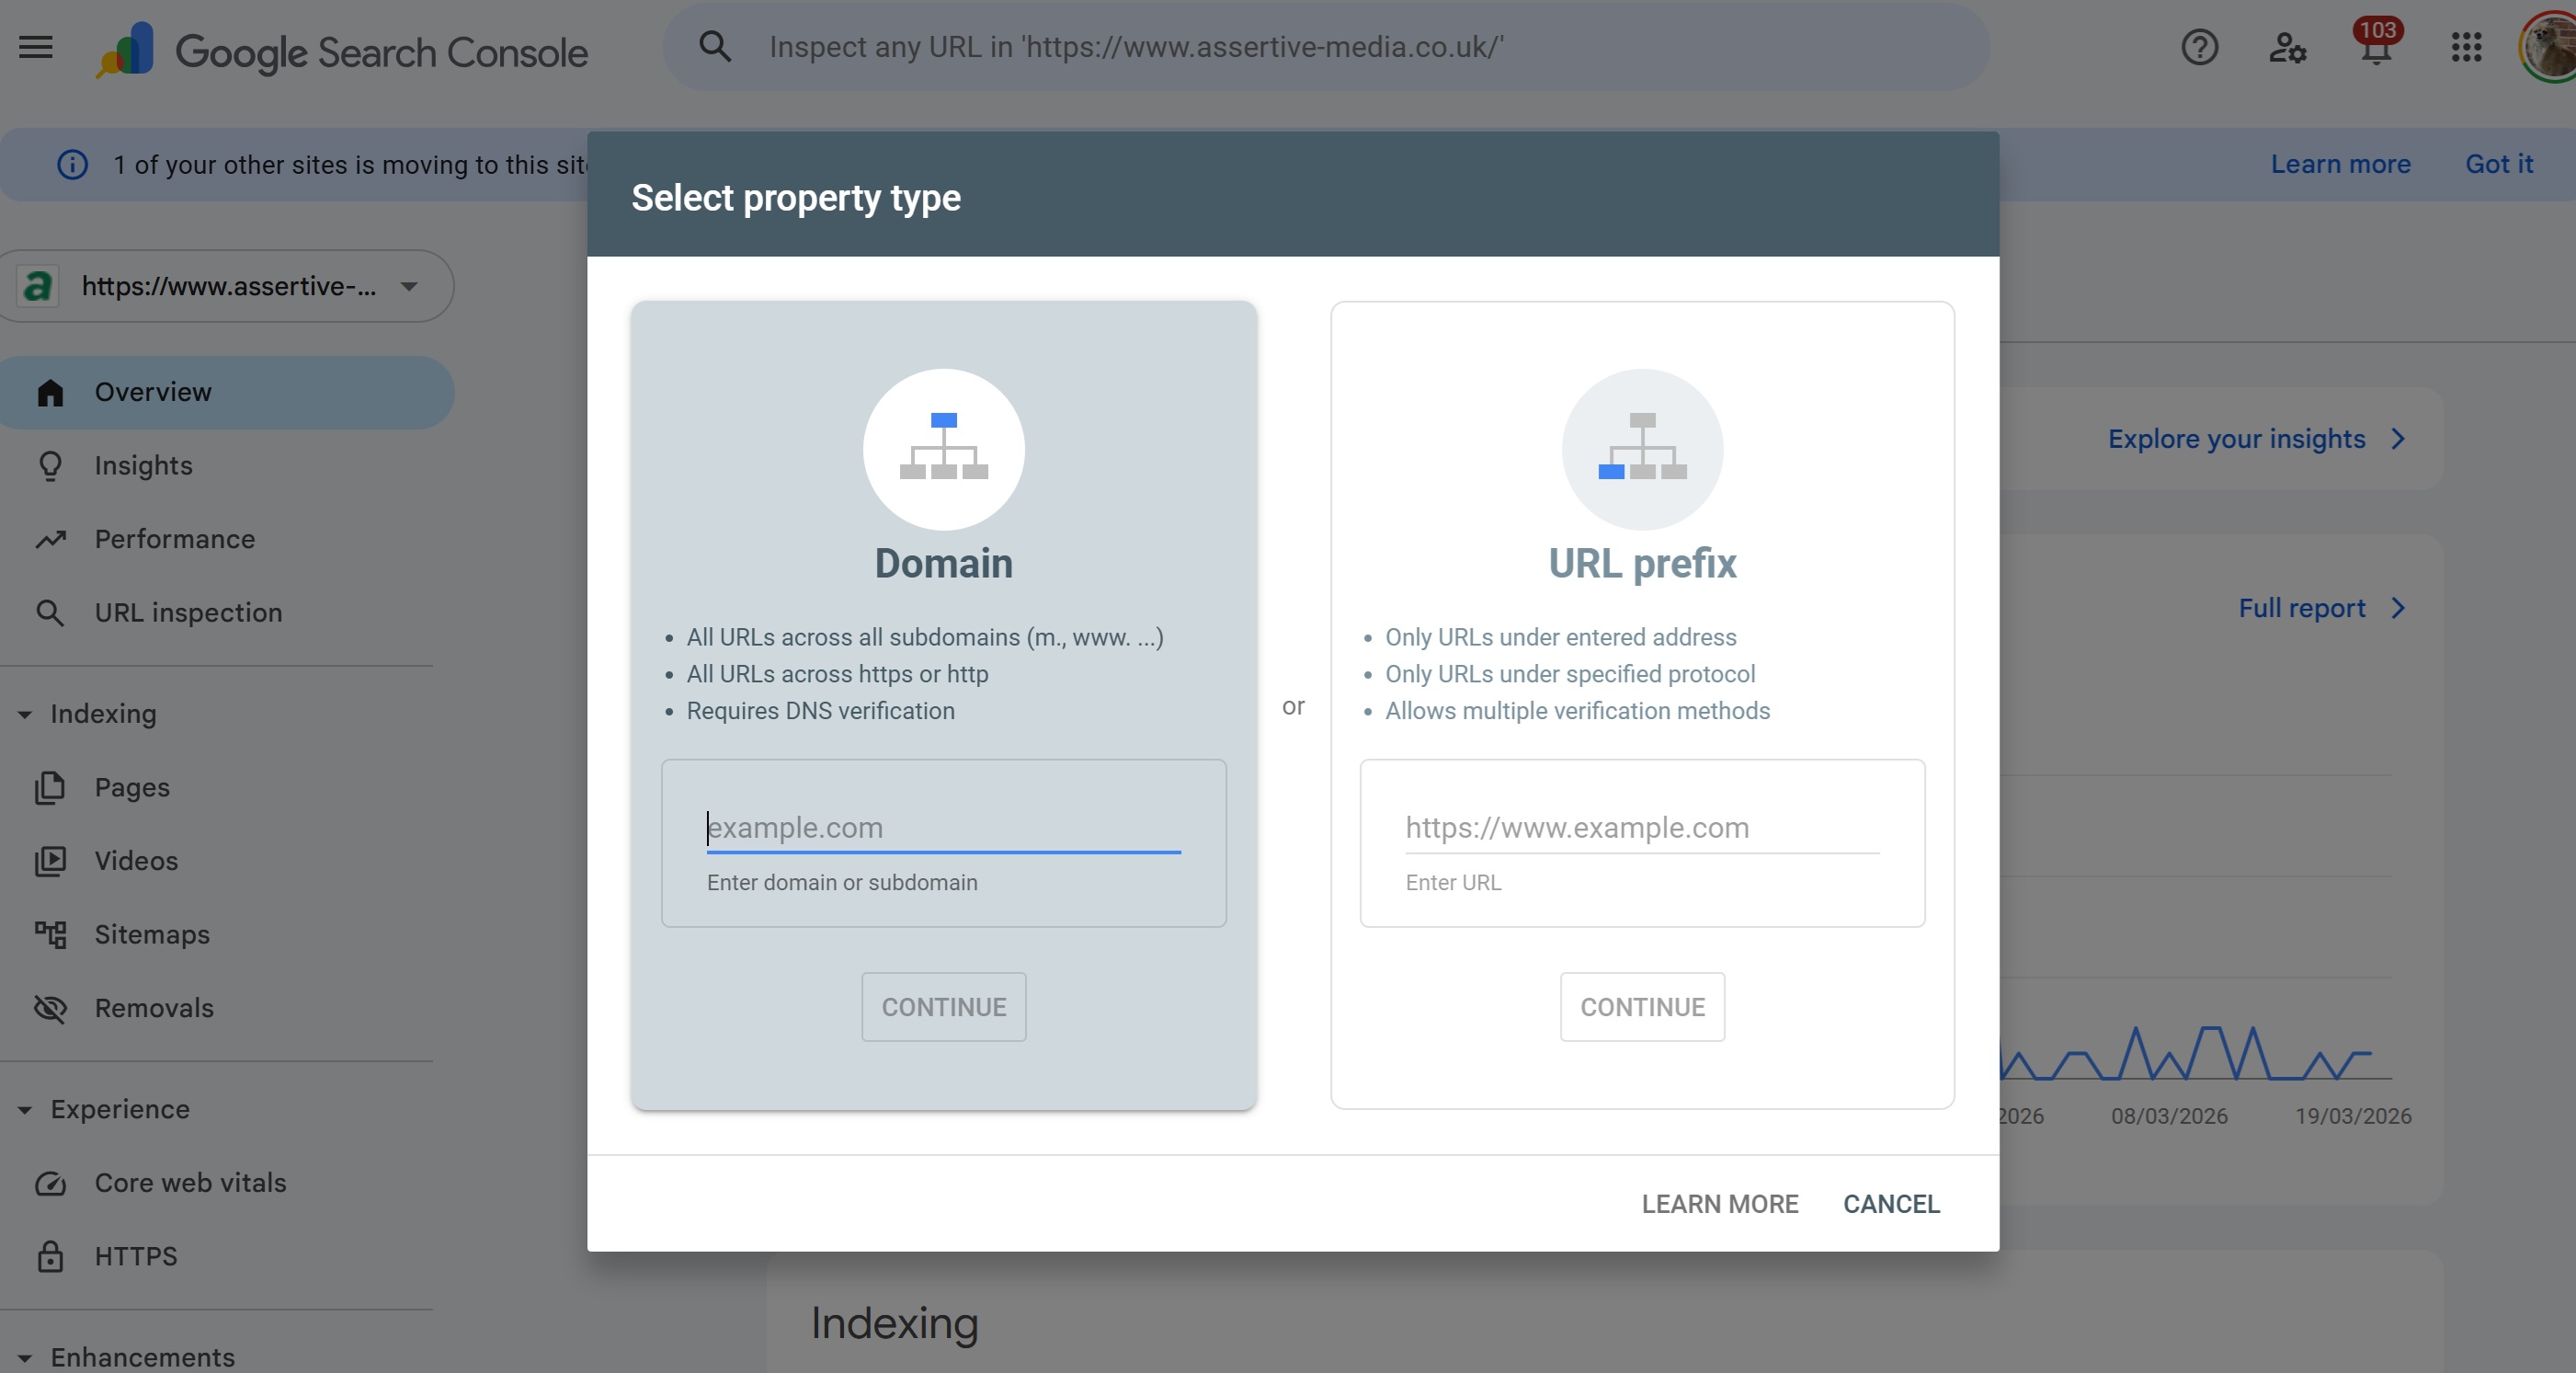
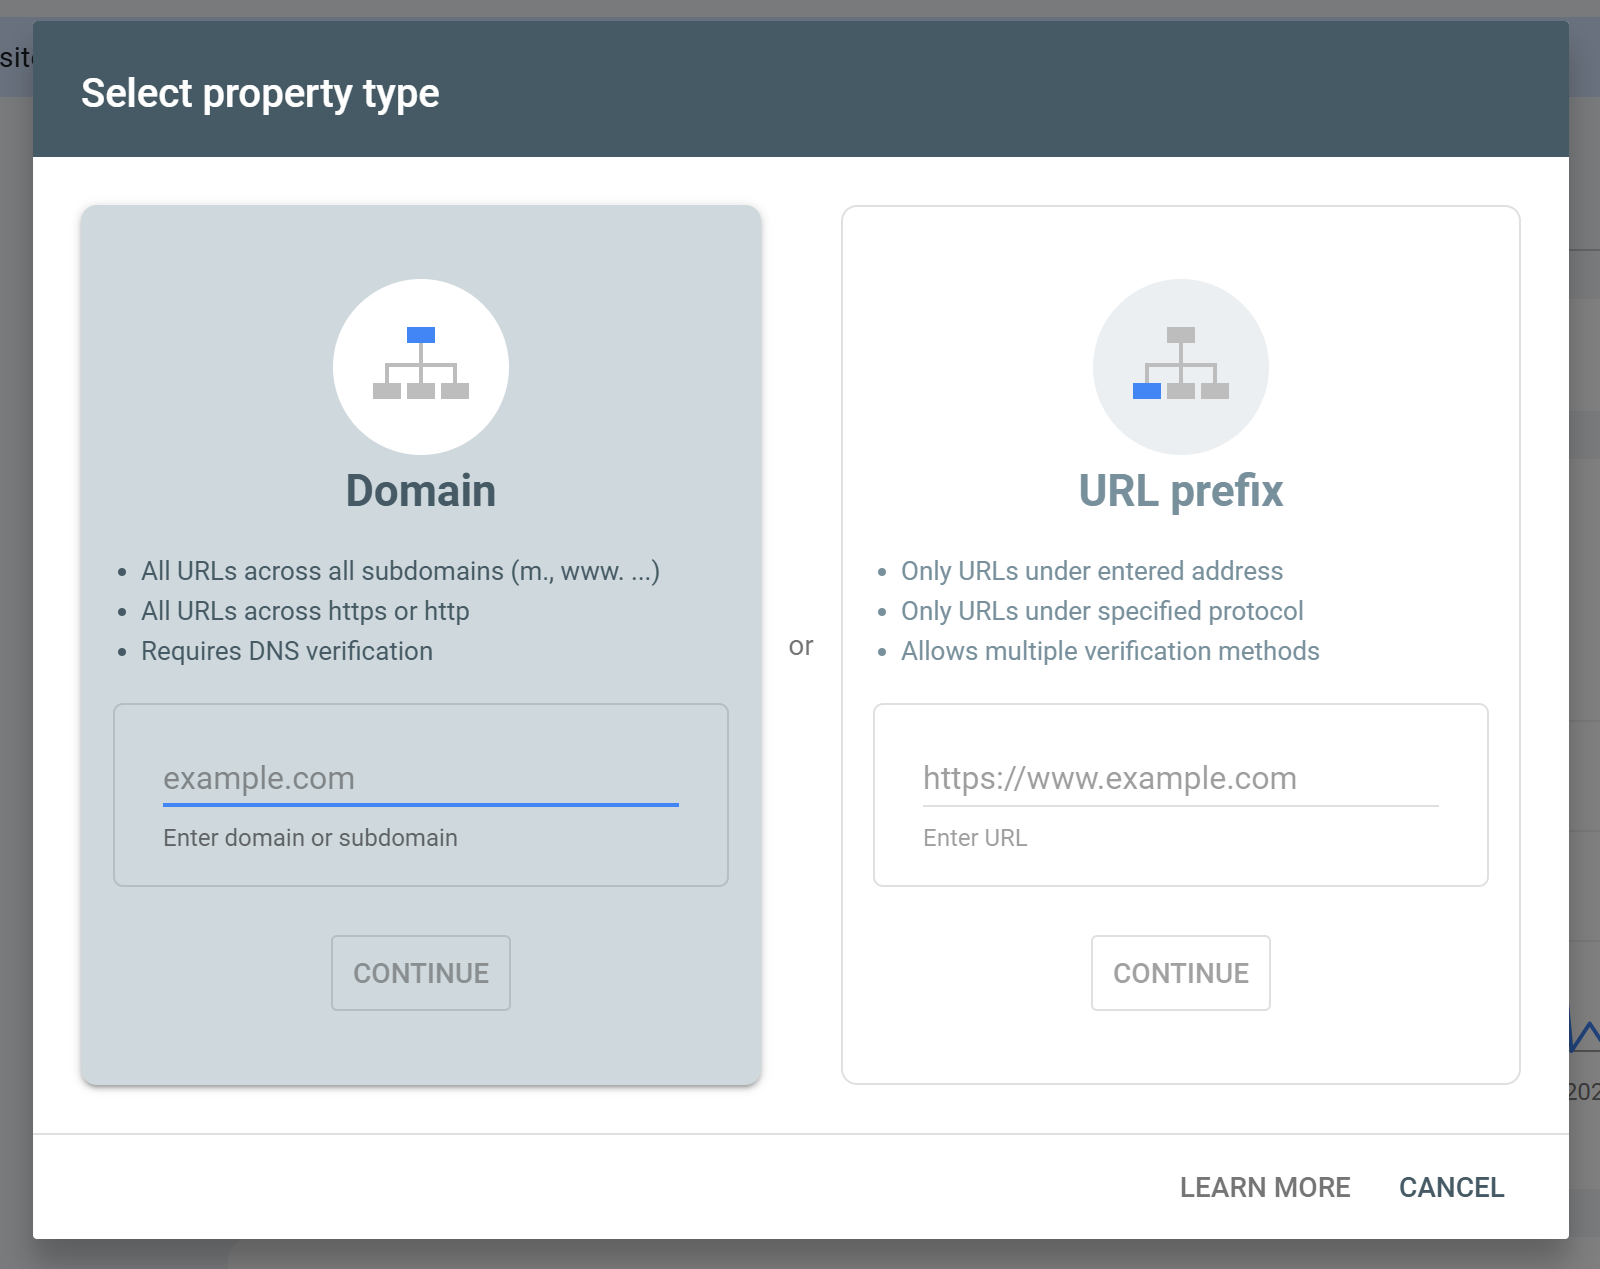
Which One Should You Choose?
For most websites, a domain property is the right call. If your site serves traffic across HTTPS and HTTP redirects are not perfectly airtight, or if you have any subdomains in play, a URL prefix property will miss data.
There are legitimate reasons to choose a URL prefix property, though:
You only want to track a subfolder. If you run a blog at
https://www.example.com/blog/and want to isolate just that section's performance, a URL prefix is the only way to do that.You are reporting on a specific subdomain. If your client owns
shop.example.combut you do not have DNS access, a URL prefix property gets you verified without needing to touch the DNS records.You cannot get DNS access. Some hosting setups, particularly managed platforms with restricted DNS, make a domain property verification impractical.
In every other scenario, go with the domain property.
How to Verify a Domain Property
Because domain properties only support DNS verification, you will need access to your domain registrar or DNS host. This sounds daunting but is usually a five-minute job once you know where to look.
Here is how the process works and what it looks like across common setups.
Step 1: Get Your TXT Record From Google
When you add a domain property in Google Search Console, Google will give you a TXT record that looks something like this:
google-site-verification=ABC123defGHI456jklMNO789
Copy this exactly. You will need to add it to your DNS.
DNS Verification via Your Domain Registrar (GoDaddy, Namecheap, Cloudflare, etc.)
This is the universal method and works regardless of where your site is hosted.
Log into your domain registrar or DNS provider
Navigate to your DNS management area (usually called DNS Settings, DNS Records, or Zone Editor)
Add a new TXT record:
Host / Name:
@(this represents your root domain)Value / Content: the full TXT record Google gave you
TTL: leave as default or set to 3600
Save the record
Head back to Google Search Console and click Verify
DNS changes can take anywhere from a few minutes to 48 hours to propagate, though in most cases it is closer to 10 to 30 minutes. Cloudflare users tend to see near-instant propagation.
Best for: Anyone with direct DNS access, larger sites, developers, and agencies managing multiple client domains.
How to Verify a URL Prefix Property
URL prefix properties give you more options. You can verify via DNS (same process as above), but you can also use the HTML tag method, a Google Analytics or Tag Manager connection, or a file upload. The HTML tag method is the most commonly used and the fastest to implement.
HTML Tag Verification (The Quickest Route for Most Sites)
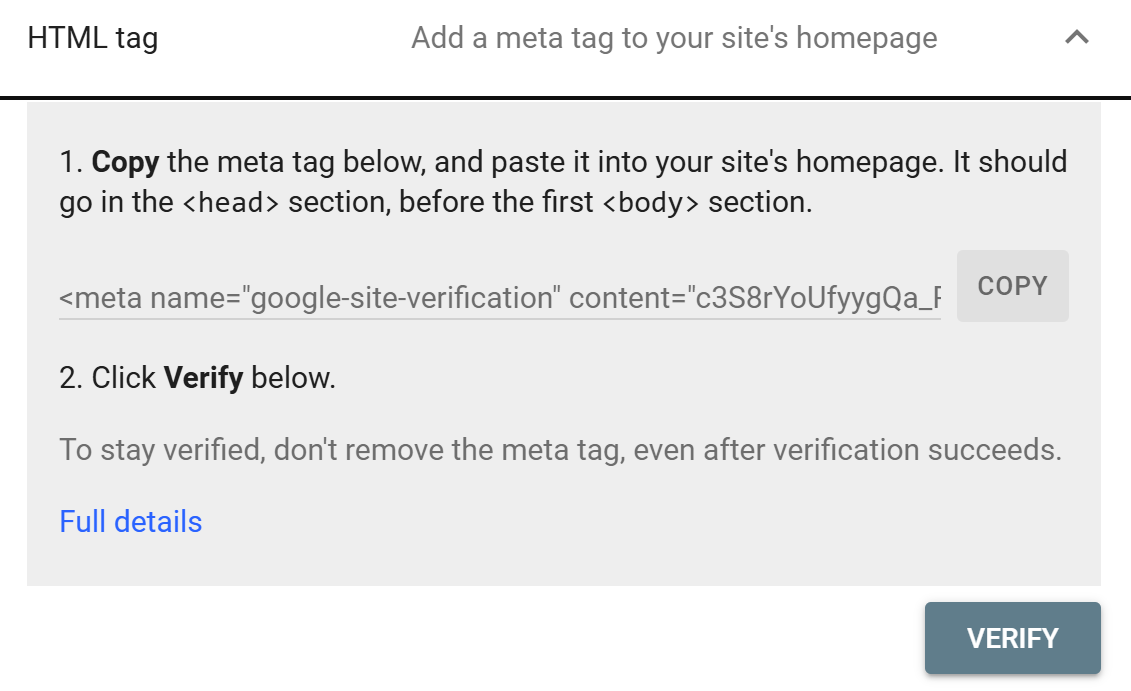
Google gives you a meta tag that looks like this:
<meta name="google-site-verification" content="ABC123defGHI456jklMNO789" />
This needs to go in the <head> section of your homepage. Here is how to do that on the most common platforms:
WordPress (Without a Plugin)
If you have access to your theme files:
Go to Appearance > Theme File Editor in your WordPress dashboard
Open
header.phpPaste the meta tag just before the closing
</head>tagSave and verify in GSC
A word of caution: editing theme files directly means your change could be wiped out during a theme update. Using a child theme or a plugin is safer for long-term stability.
WordPress (With a Plugin: Yoast SEO or Rank Math)
This is the easiest WordPress route and the one most site owners use:
Using Yoast SEO:
Go to Yoast SEO > Settings > Site connections
Paste your verification code (just the value inside
content="", not the full tag) into the Google fieldSave and verify
Using Rank Math:
Go to Rank Math > General Settings > Webmaster Tools
Paste the verification code into the Google Search Console field
Save and verify
Both methods add the tag automatically without touching any theme files.
Shopify
Shopify requires you to edit the theme code directly since there is no native GSC verification field in the admin:
Go to Online Store > Themes
Click Actions > Edit Code on your active theme
Open
theme.liquidfrom the Layout folderFind the
</head>tag and paste your verification meta tag just before itSave and verify in GSC
If you do not have developer experience, it is worth asking your developer or using a Shopify SEO app that handles this for you. The theme.liquid file is central to how your site renders, so being careful here is sensible.
Google Tag Manager
If GTM is already installed on your site, this is arguably the fastest option because you do not need to touch any files or DNS at all:
In your GTM container, create a new tag
Set the tag type to Custom HTML
Paste the full meta tag into the HTML field
Set the trigger to All Pages
Publish the container
Verify in GSC
The one caveat is that verification via GTM depends on GTM loading correctly on your homepage. If GTM ever fires asynchronously or gets blocked, it can occasionally cause verification to fail. For long-term reliability, DNS or a direct HTML tag in the theme is more robust.
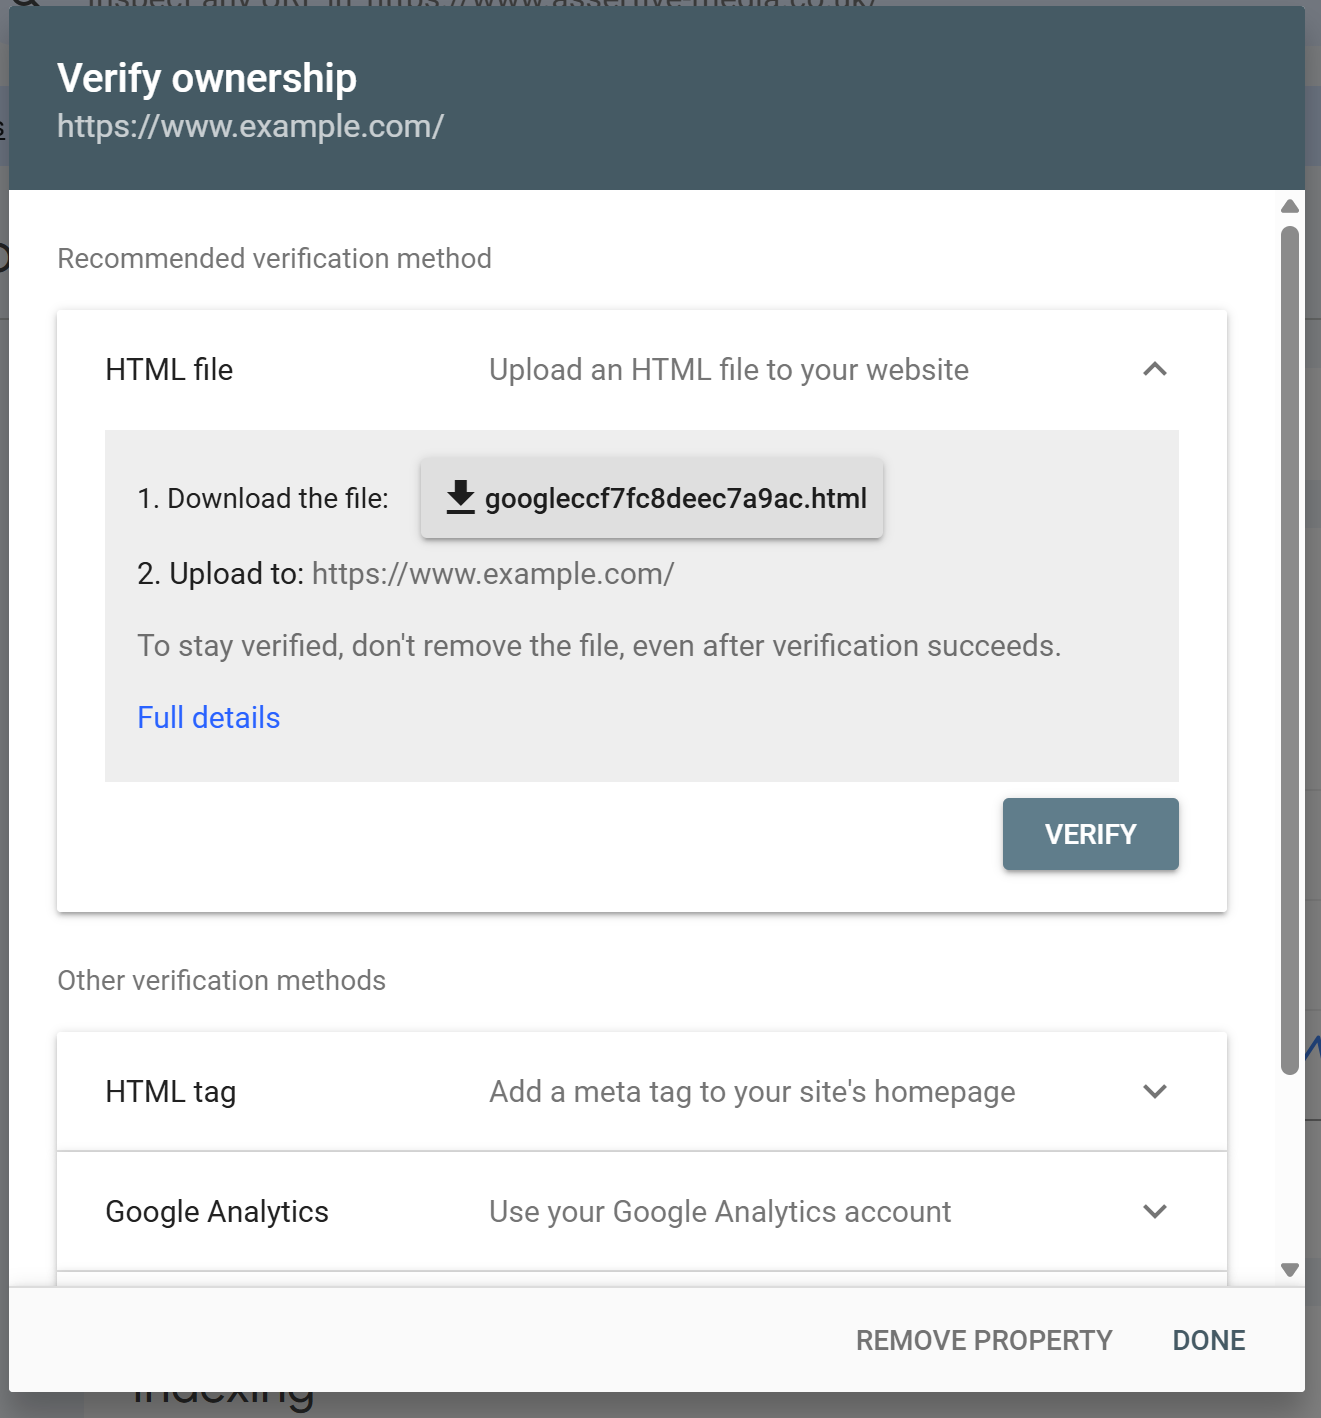
HTML File Upload
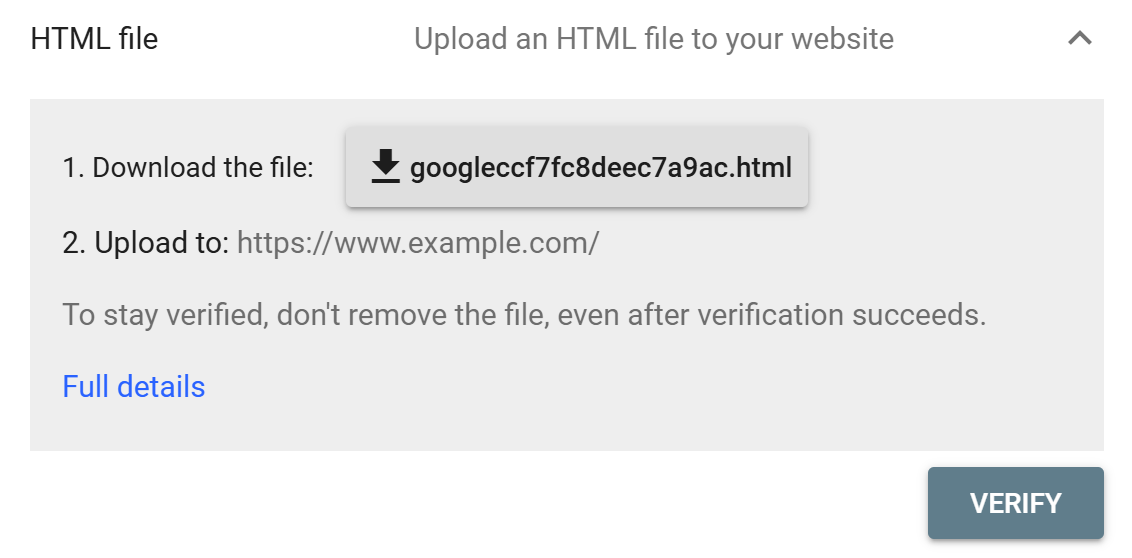
Google also lets you upload a small HTML file to your server root. This is handy if you have FTP or hosting panel access but do not want to touch the theme:
Download the verification file from GSC
Upload it to your site's root directory (the same folder that contains your homepage)
Confirm it is accessible at
https://www.example.com/googleXXXXXX.htmlVerify in GSC
This method works well for static sites or situations where editing the theme is off limits.
Which Verification Method Is the Fastest?
Here is a rough guide:
Method | Typical Wait Time | Best For |
|---|---|---|
DNS TXT Record | 10 mins to a few hours | Domain properties, developers, agencies |
HTML Tag (direct) | Under 5 minutes | Any CMS with theme access |
HTML Tag (plugin) | Under 5 minutes | WordPress users |
Google Tag Manager | Under 5 minutes | Sites already using GTM |
HTML File Upload | Under 5 minutes | Static sites, FTP access |
Google Analytics | Instant (if GA4 already installed) | Sites with GA4 already running |
If you are setting up a domain property, DNS is your only option so the wait time is what it is, though it is rarely more than an hour in practice.
If you are setting up a URL prefix property and want the fastest possible verification, the HTML tag via a plugin (on WordPress) or directly into the theme is usually the quickest path.
A Note on Keeping Verification Active
Whichever method you use, Google periodically re-checks that the verification is still valid. If the meta tag gets removed during a theme update, a plugin deactivation, or a site migration, you will lose verified status and GSC access.
It is worth keeping a note of how and where you verified each property so it does not catch you off guard months down the line. DNS verification tends to be the most stable over time because it sits at the domain level and is not affected by changes to your website's code or plugins.
Wrapping Up
The short version: if you want complete data for your whole domain, set up a domain property and verify it via DNS. If you need to track a specific subfolder or cannot get DNS access, a URL prefix property with HTML tag verification is a solid alternative.
Getting this right at the start saves a lot of headaches later when you are trying to reconcile why your GSC data does not match your analytics. Once verified, you are set.
Looking for more out of your search data than GSC gives you by default? SEO Stack extends your GSC data with longer data retention, deeper filtering, and analytics built for SEO decisions.
Ready to transform your SEO?
Join thousands of SEO professionals using SEO Stack to get better results.
Start Free 30 Day Trial